How to Make Balanced Espresso with an Entry-Level Machine
For many coffee lovers, the dream of pulling a perfect shot of espresso at home exists. Still, there is often a fear of ending up with a bitter, sour, or harsh cup. This happens especially when using delicate, nuanced Arabica beans. Even small mistakes can easily push them into unpleasant flavors. The good news? You don’t need an expensive machine to achieve a beautifully balanced shot. The result can be sweet and complex.
The secret isn’t tied to the machine’s price tag. It lies in understanding the variables it can control. Use technique to compensate for what it can’t. This guide will teach you how to coax a low-acidity espresso from your Arabica beans. It will help you produce a non-bitter espresso using a standard entry-level machine.
The Foundation: Choosing the Right Arabica Beans
Your machine is just a tool; the beans are the soul of your espresso. To target a balanced, low-acidity profile from the start, your bean selection is critical.
- Look for “Espresso” Blends or Specific Origins: Many roasters craft blends specifically for espresso. They often aim for chocolate, caramel, and nutty notes rather than bright, fruity ones. Look for descriptions that mention “balanced,” “sweet,” “chocolate,” or “creamy.”
- Consider the Roast: Medium to medium-dark roasts are your best friend. Light roasts highlight the origin’s bright, fruity acidity, which can be challenging to balance on a beginner machine. Dark roasts can easily tip into bitterness. A medium roast develops sweetness and body while retaining some of the bean’s unique character.
- Check the Roast Date: Always use freshly roasted beans (within 2-4 weeks of the roast date). Stale beans will taste flat, dull, and often papery, making a balanced shot impossible.
The Grinder: Your Most Important Upgrade
This is the non-negotiable secret weapon. An entry-level machine with a premium pressurized (double-walled) basket can mask a bad grind. Yet, it will never produce truly great espresso. To unlock the full potential of your beans, you need a quality burr grinder.
- Why it Matters: Pre-ground coffee goes stale in minutes. A blade grinder produces uneven particles. These particles extract at different rates. This process creates a simultaneous mix of sour (under-extracted) and bitter (over-extracted) flavors.
- The Goal: You need a grinder capable of producing a fine, consistent powder that feels like table salt, not flour. This consistency is the single biggest factor in achieving an even extraction. Even extraction is the key to avoiding bitterness and acidity.
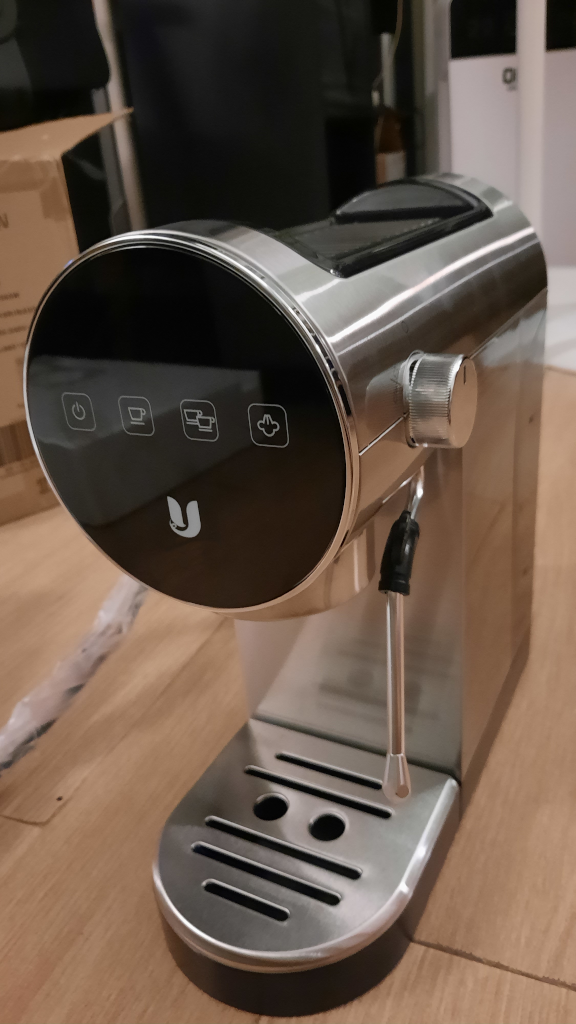
The Technique: Mastering Your Machine
Entry-level machines often lack temperature stability and precise pressure control. Your technique must thus be impeccable to create consistency.
1. Measure Your Input (Dose):
Never guess. Use a small scale to measure your coffee grounds. A good starting point is 18 grams of coffee. Consistency in your input is the first step to consistency in your output.
2. Distribute and Tamp Evenly:
After grinding into your portafilter, gently tap the side to settle the grounds. Use your finger or a tool to distribute them evenly across the basket. Any clumps or channels will lead to uneven water flow. Then, tamp with firm, even pressure. The goal is to create a level, uniform “puck” of coffee that water will pass through evenly.
3. Measure Your Output (Yield and Time):
This is the most critical step. Place your scale with the cup on it under the portafilter before you start your shot.
- The Recipe: Start with a classic ratio. Aim for 36 grams of liquid espresso from your 18 grams of coffee. This is a 1:2 ratio. This is a great benchmark for balance.
- The Time: Your shot should take 25-30 seconds to pull. This includes the pre-infusion time if your machine has it. This is when the machine first wets the puck at low pressure. It does this before full pressure kicks in.
4. Taste and Adjust (The Magic Step):
Your machine pulls the shot, but you are the barista. Your taste buds are the final judge.
- If it’s SOUR/ACIDIC: This means it’s under-extracted. The water didn’t spend enough time interacting with the coffee. To fix this, make your grind finer a click at a time. This will slow the shot down, increasing the extraction time.
- If it’s BITTER/HARSH: This means it’s over-extracted. The water spent too much time with the coffee. To fix this, make your grind coarser a click at a time. This will speed the shot up, decreasing the extraction time.
- If it’s BALANCED: You’ve found the sweet spot! Note the grind setting, dose, and yield for those specific beans.
Why This Process Works for Low Acidity and Bitterness
- The Right Beans: Starting with a medium-roast, inherently sweeter bean avoids fighting intense acidity from the beginning.
- Even Extraction: A consistent grind and even tamp prevent “channeling,” where water blasts through weak spots in the puck. Channeling causes both sour (from the under-extracted areas) and bitter (from the over-extracted areas) flavors simultaneously.
- Controlled Yield: Stopping the shot at a precise weight (e.g., 36g) prevents you from extracting the final, most bitter compounds from the coffee puck. You’re capturing only the sweetest and most balanced part of the extraction.
Embrace the Journey
Your first few shots will not be perfect, and that’s okay. The process of dialing in—adjusting the grind, dose, and yield—is a rewarding skill. Focus on fresh beans and use a good grinder. With a measured approach, your entry-level machine will consistently produce espresso that is rich, sweet, and complex. It is a world away from the bitter, acrid shot you are fearing.

Leave a comment